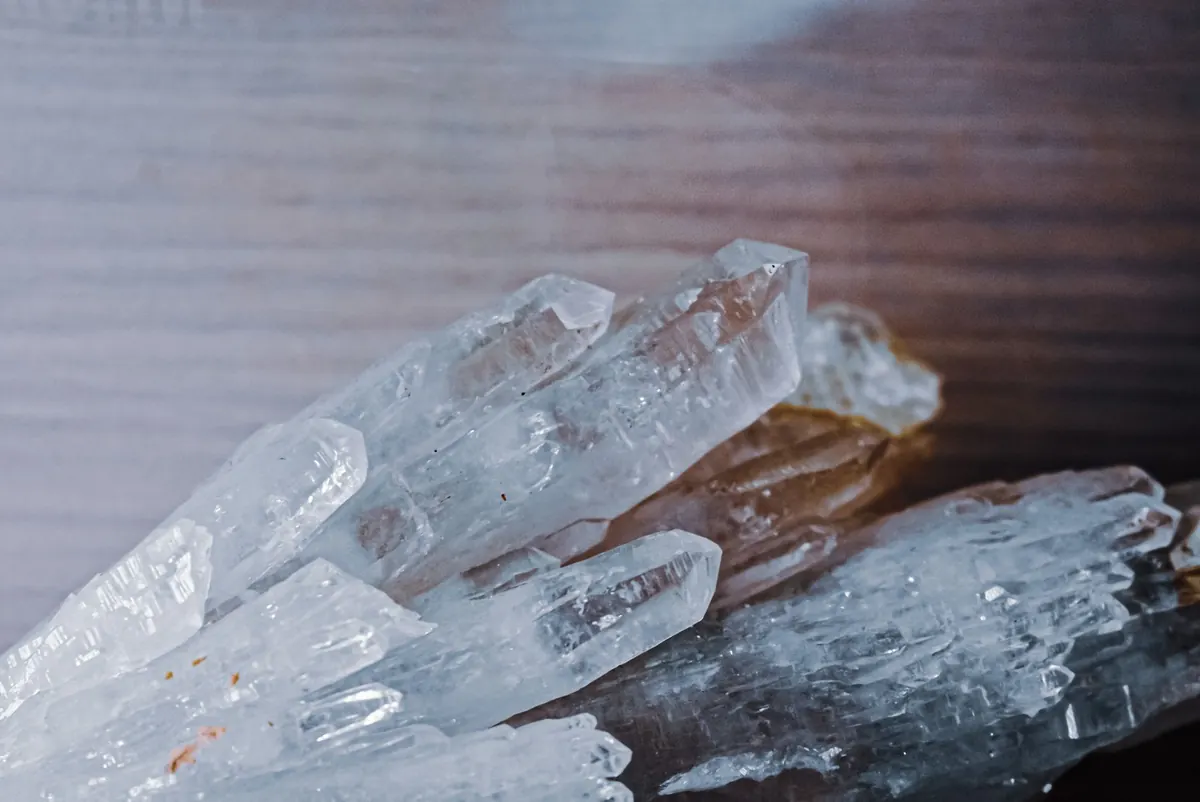
Quartz is one of the most common minerals you will meet on a walk in Britain, and also one of the most frequently misidentified. Milky lumps in a stream bed, glassy points in a pegmatite, the gritty grains in a sandstone wall: all quartz, yet each looks different enough to fool a beginner. The good news is that quartz has a handful of stubborn, reliable properties. Learn those and you can confirm it in a couple of minutes, using tools you already carry in a pocket or rucksack.
Start With the Setting
Before you pick anything up, look at where you are. Quartz is at home in a wide range of places, and the setting narrows the odds enormously.
In granite and other igneous rocks it appears as grey, translucent grains alongside feldspar and mica. In pegmatites and mineral veins it grows into proper crystals, often with feldspar, tourmaline or iron oxides for company. In sedimentary settings it survives as sand grains and as the cement in sandstones and quartzites. On beaches and in river gravels it collects as rounded pebbles because it resists weathering better than almost anything around it. If you are looking at a quartz vein cutting through dark slate, you are in exactly the right place.
Lustre and Colour: The First Look
Wet the specimen. A splash of water or a quick lick cuts through dust and reveals the true surface, and quartz has a distinctive vitreous, glassy lustre that looks faintly greasy on a fresh break. Milky massive quartz can look waxy rather than glassy, particularly when it is full of tiny fluid inclusions. Hold a thin edge up to the light: good quartz is usually translucent, and rock crystal is properly transparent.
Colour is where beginners go wrong. Quartz comes in clear, milky white, smoky grey-brown, purple (amethyst), yellow (citrine), pink (rose) and many shades between, and the same specimen can be colourless at one end and smoky at the other. Heat-treated and dyed material in shops makes colour even less trustworthy. Use colour as a hint, never as proof.
Hardness: The Test That Settles Most Arguments
Quartz sits at 7 on the Mohs scale. For comparison, a fingernail is about 2.5, a copper coin about 3.5, a steel knife blade around 5.5 and window glass roughly 5.5. That means quartz scratches glass comfortably, and a knife blade will not scratch quartz.
There is a trap here. Dragging a steel blade across a quartz face usually leaves a grey line, but it is powdered metal smeared onto the surface, not a groove. Wipe it with a thumb, check with a hand lens, and feel it with a fingernail — a real scratch catches. Test on an inconspicuous broken edge rather than a nice crystal face, and if you use glass, wear eye protection and point the sharp edge away from your face.
Hardness rules out calcite, fluorite, halite and gypsum straight away. It will not separate quartz from feldspar, because feldspar at 6 also scratches glass — for that you need the next test.
Fracture, Form and the Absence of Cleavage
This is the single most useful property in the field. Quartz has no cleavage. Strike it and it breaks along a curved, shell-like surface called a conchoidal fracture, often with faint ripple marks running across it. Feldspar, by contrast, splits along flat, shiny planes that meet at close to a right angle, and calcite breaks into neat rhombs.
Where crystals are well formed, quartz shows a six-sided prism, sometimes with horizontal striations running across the prism faces, topped by a pyramid-like termination of several faces. A hexagonal cross-section is a strong clue. You will also meet it as massive white veins, drusy crusts of tiny points, and double-terminated crystals that grew freely in a cavity.
A Field Checklist You Can Run in Two Minutes
- Wet it and look at the lustre. Glassy to slightly greasy, translucent at the edges?
- Check the shape. Six-sided prism, striated prism faces, pyramidal tip?
- Hold it to the light. Does light pass through a thin edge?
- Try the knife. Does the blade refuse to bite, leaving only a metal smear?
- Scratch a glass plate. Does the quartz win? Now try the same with a suspected feldspar and compare.
- Inspect the broken surface. Curved, smooth, rippled — or flat and shiny with cleavage planes?
- Rule out the lookalikes in the next section before you commit.
Common Lookalikes and How to Rule Them Out
- Calcite: much softer (3), splits into rhombs, and fizzes in dilute acid. A drop of vinegar on powdered calcite may raise a few bubbles.
- Feldspar: similar colours, but breaks along flat cleavage planes and is softer. Its two cleavage directions catch the light in flashes.
- Halite: tastes of salt, scratches with a fingernail, and forms cubes.
- Gypsum or selenite: soft enough to mark with a fingernail. Quartz is not.
- Topaz: harder than quartz, noticeably heavier in the hand, and splits cleanly across the base.
- Beryl: also hexagonal, but harder, often pale green or blue, and lacking striations across the prism faces.
- Glass and slag: may fracture like quartz, but look for round bubbles, flow lines and a total absence of crystal faces.
- Chert and flint: cryptocrystalline quartz, so technically family — waxy, opaque and dull rather than vitreous.
Two extra tests worth knowing
Quartz leaves no streak on a porcelain plate; it is harder than the plate itself. Some amethyst and agate glows under ultraviolet light, but plenty of quartz does not, so treat fluorescence as a bonus, never a confirmation. If you keep a small bottle of dilute hydrochloric acid in your kit, handle it carefully, keep it away from skin and eyes, and never carry it loose in a bag with your specimens.
Before You Put It in Your Bag
Identification done, collecting deserves a moment's thought. Ask the landowner first. In the UK, sites of special scientific interest, nature reserves and many National Trust or council-owned locations restrict or prohibit removing rock, and hammering an exposure destroys it for everyone who follows. Take loose material from scree and stream beds wherever you can, and leave in-situ veins alone.
Carry eye protection and gloves, and never swing a hammer under an overhang or near anyone's face. Wrap specimens in newspaper or bubble wrap, and label them the same day with the location, a grid reference and what the quartz was sitting with — those notes are what turn a nice lump into a useful specimen. Keep the first piece, photograph the rest, and leave some behind. There is always another walk.
Photo: Diana ✨ / Pexels